Cabinet Construction and Why Constructing Custom Cabinetry is Beneficial for a Holistic Lifestyle

Custom cabinetry makes a big difference in a home, but the process of choosing and designing custom cabinets can be harder than it may seem. From selecting the right type of natural wood to choosing your stain or paint color, each decision in custom cabinetry is important. Custom cabinetry can be functional and fabulous. Alleviating your home of clutter will encourage productivity and increase energy to enhance the lives of all who dwell in the space. These types of design elements demand attention. Custom made products mean more, not just to the people who live in the home but also for those who visit – not to mention they also increase the overall value of your home. Having something made especially for you and your family’s needs is the kind of personalization everyone can appreciate and enjoy.

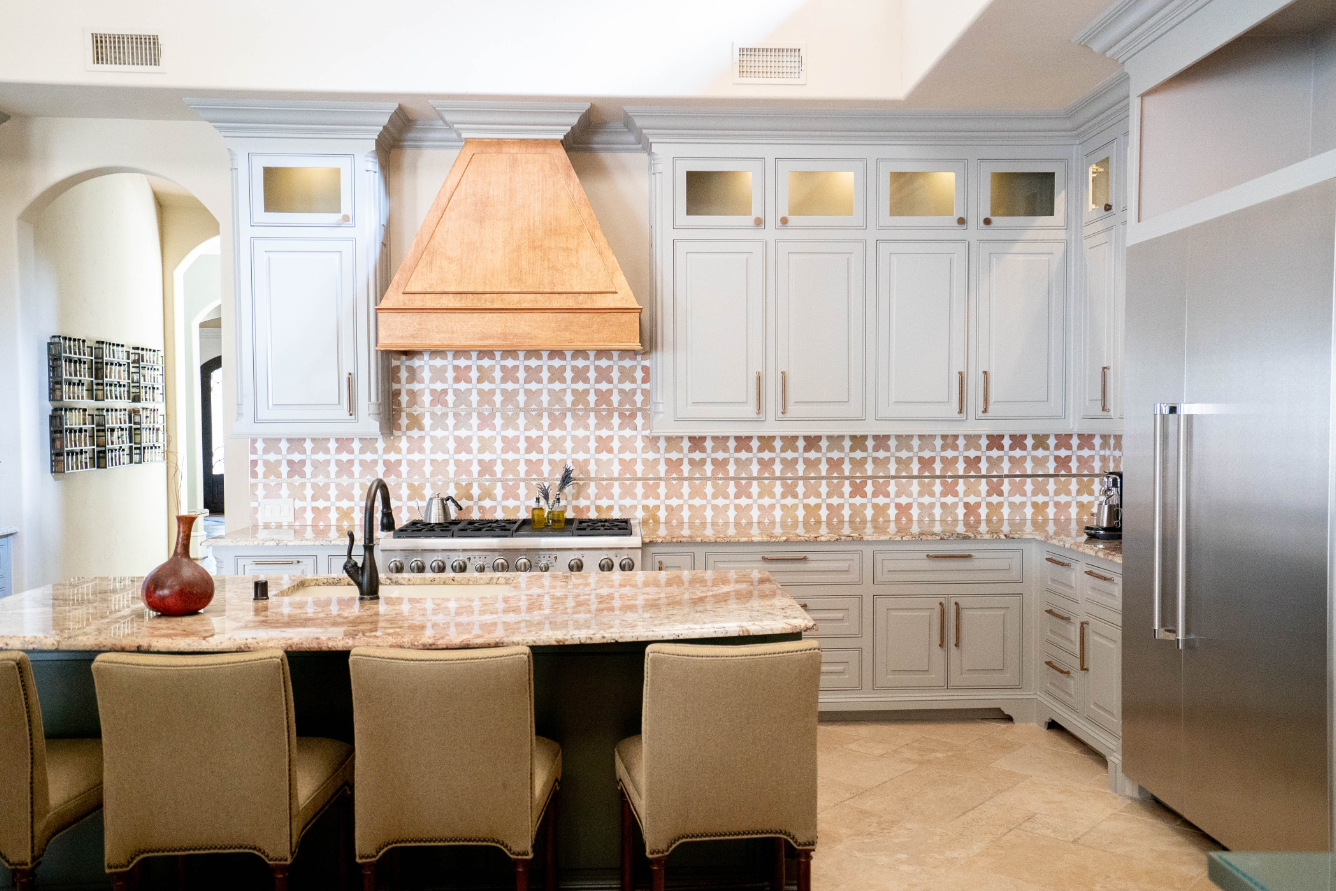
Refreshing your interiors and installing custom cabinetry will improve the way you interact with your surroundings. Stepping into a kitchen that is stylish and beautiful, and functionally sound will not only enhance its visual appeal but will highlight its overall custom design to create a living experience unique to you and your family.

Custom cabinets allow the greatest flexibility and typically offer the highest quality of construction. With custom cabinets, you can have anything you ever dreamed of with a perfect fit for your home. Custom cabinets get down to 1/32″ for a custom fit. Pre-manufactured cabinets are limited in width typically 36″ and increase in 3″ increments. That means when you opt for pre-manufactured cabinets in, installers have to add big fillers.

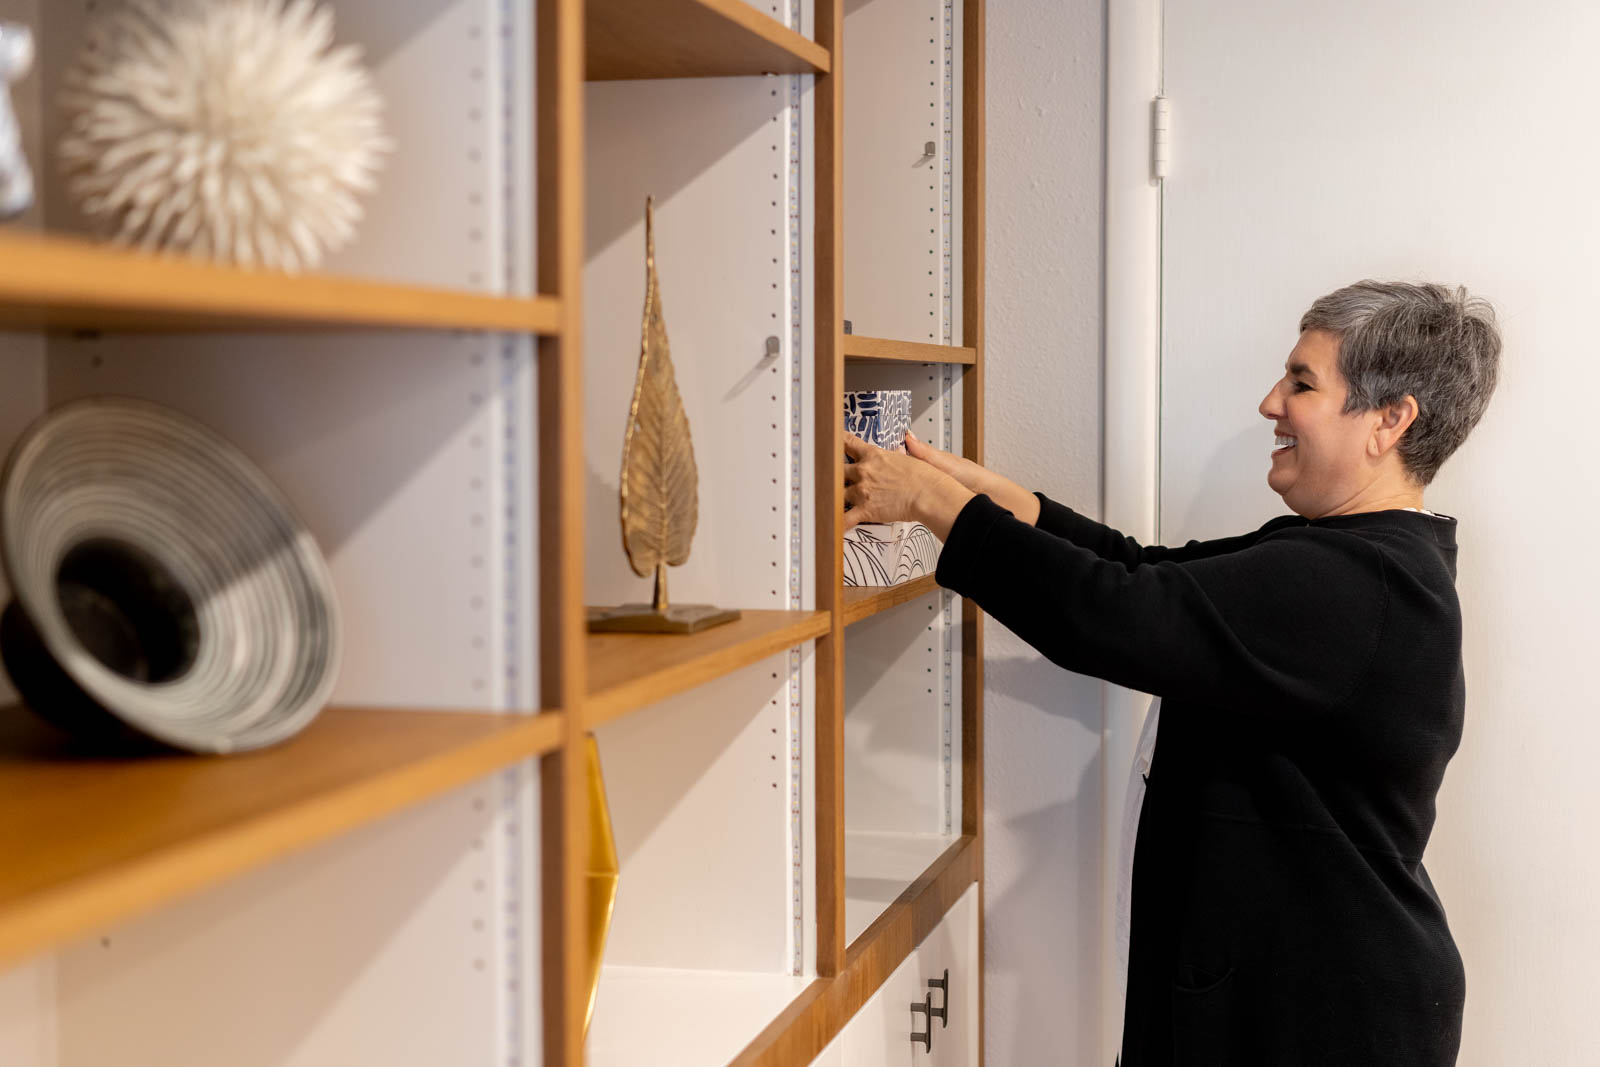
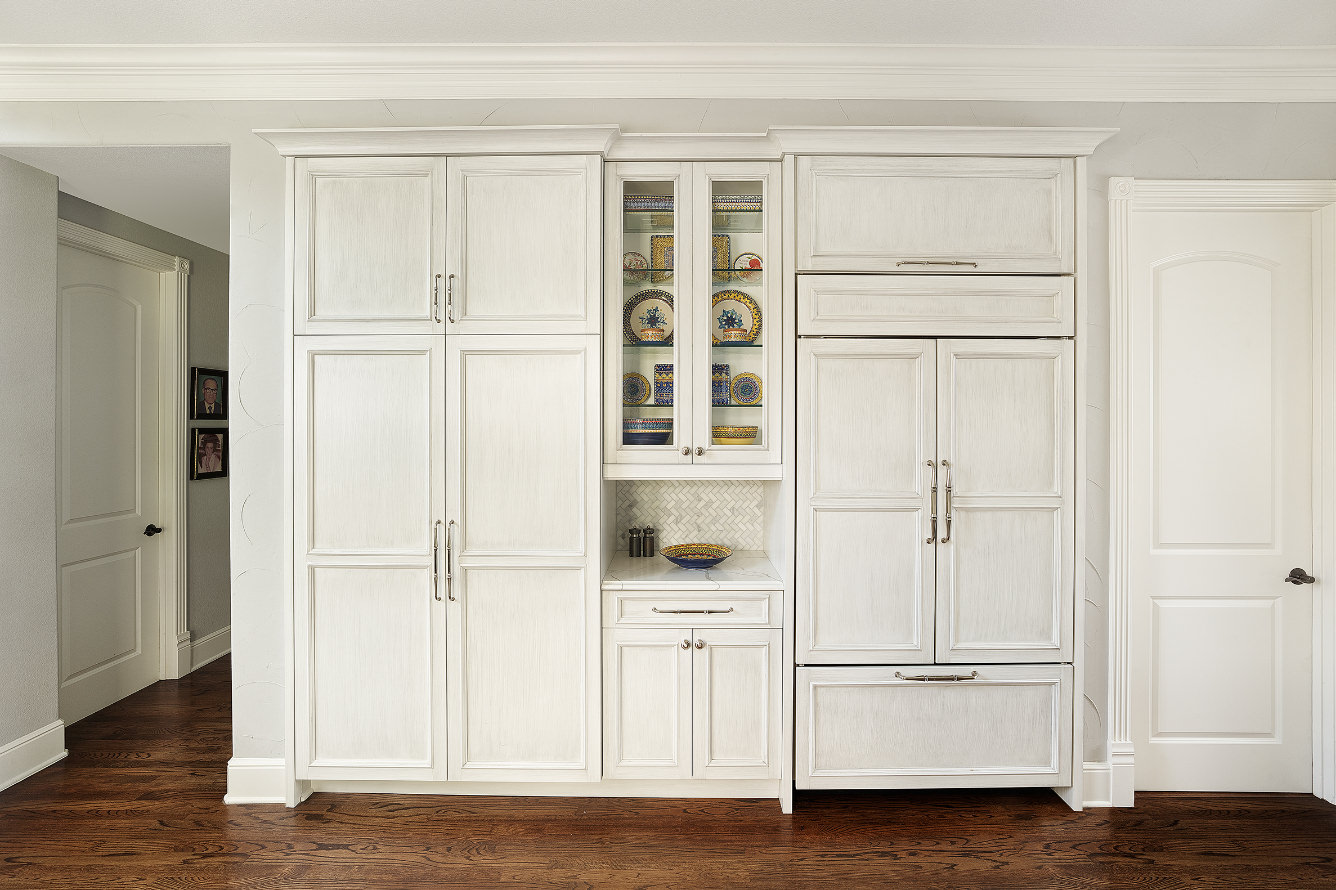
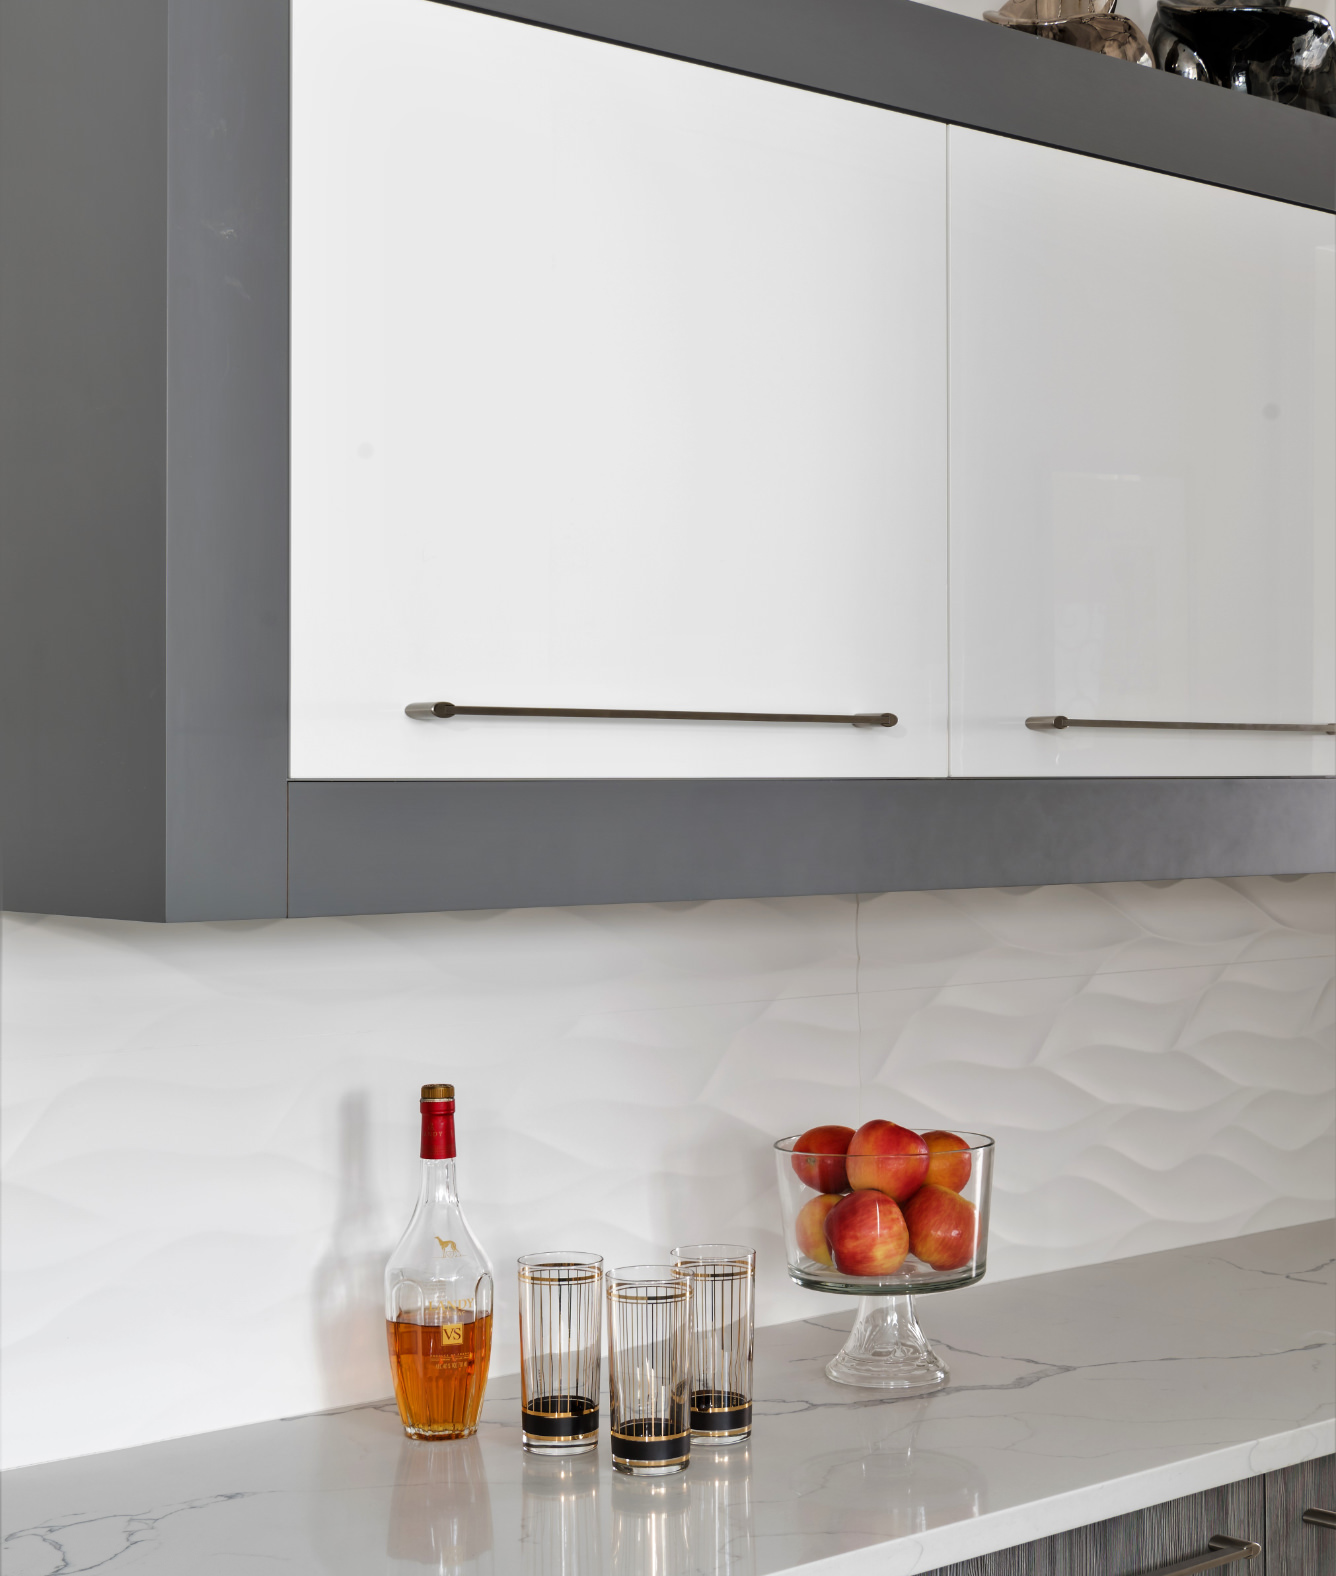
When it comes to custom cabinetry it is important to showcase what is essential in your life. For the kitchen cabinets, it could be your fine china or priceless glassware. With customized cabinetry, you can turn what you treasure into a statement piece to be admired.

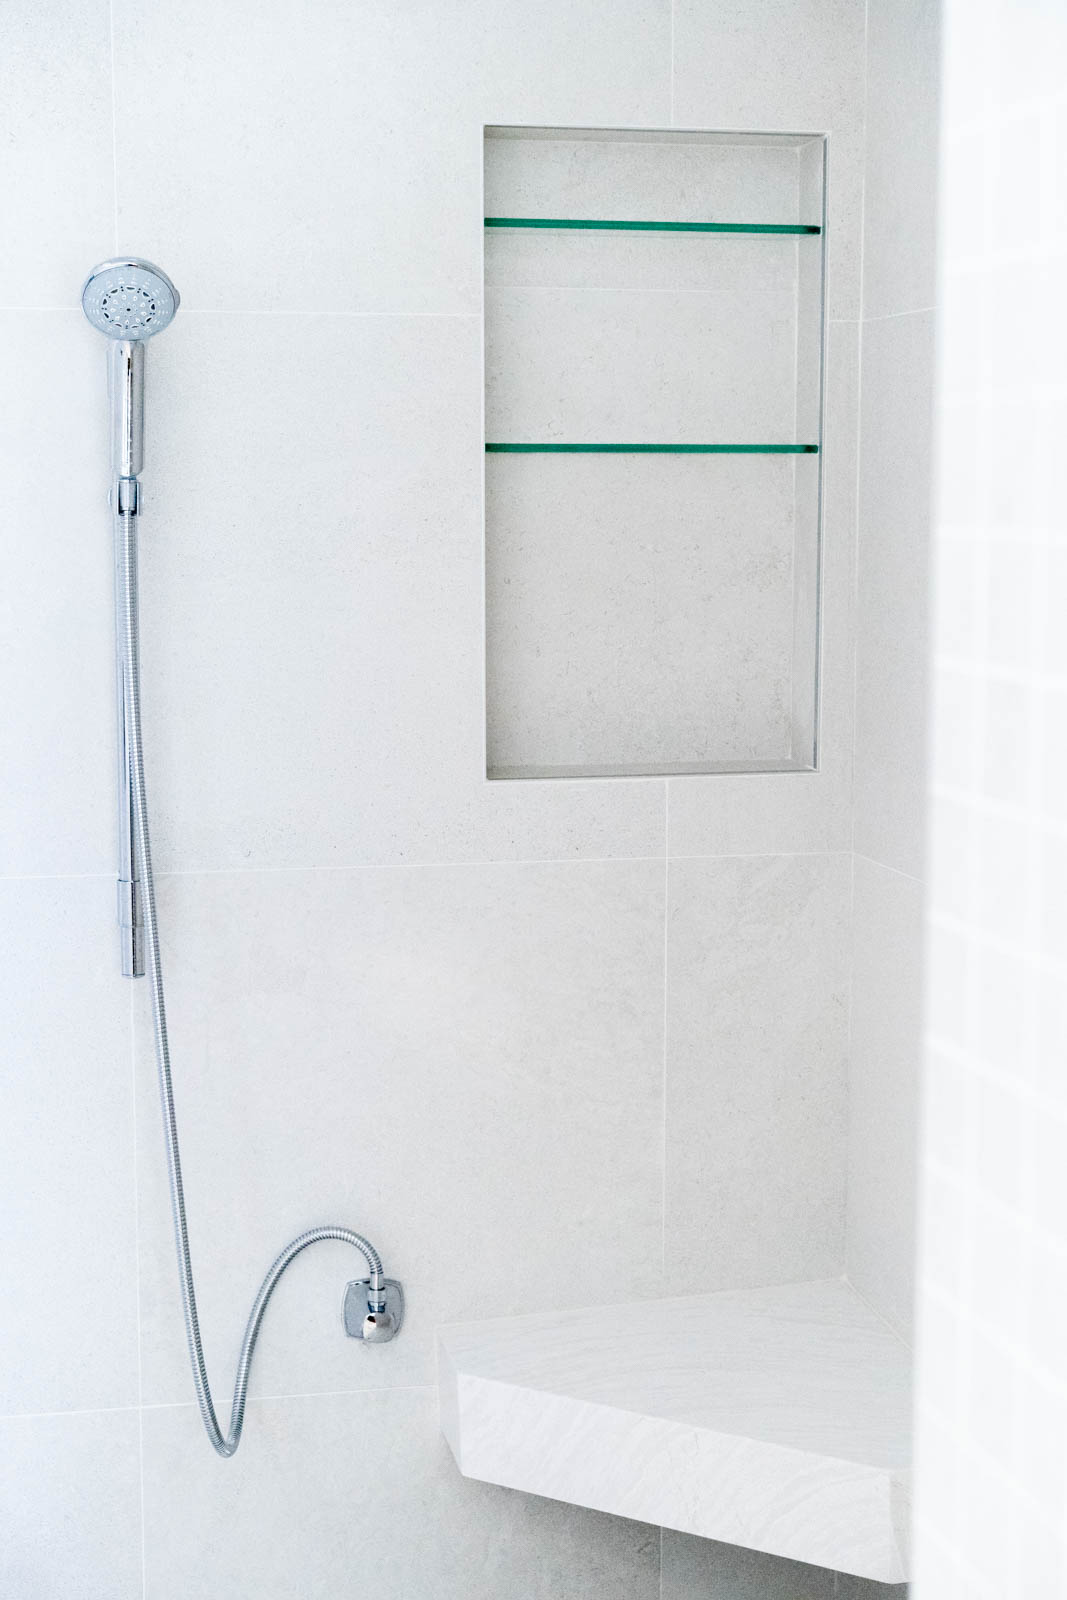
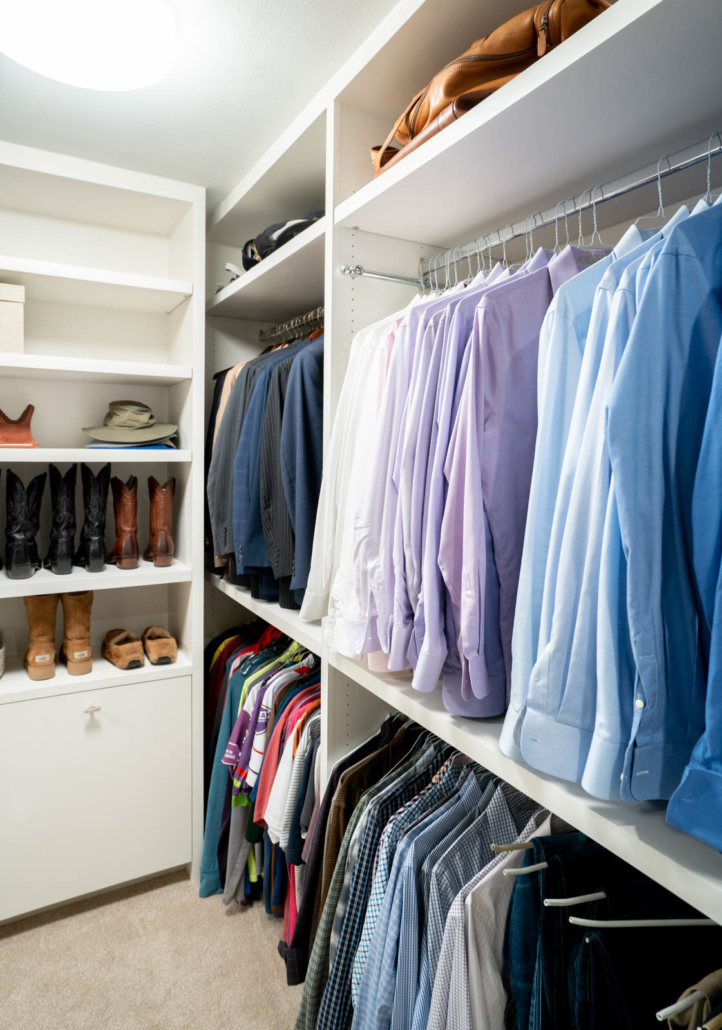
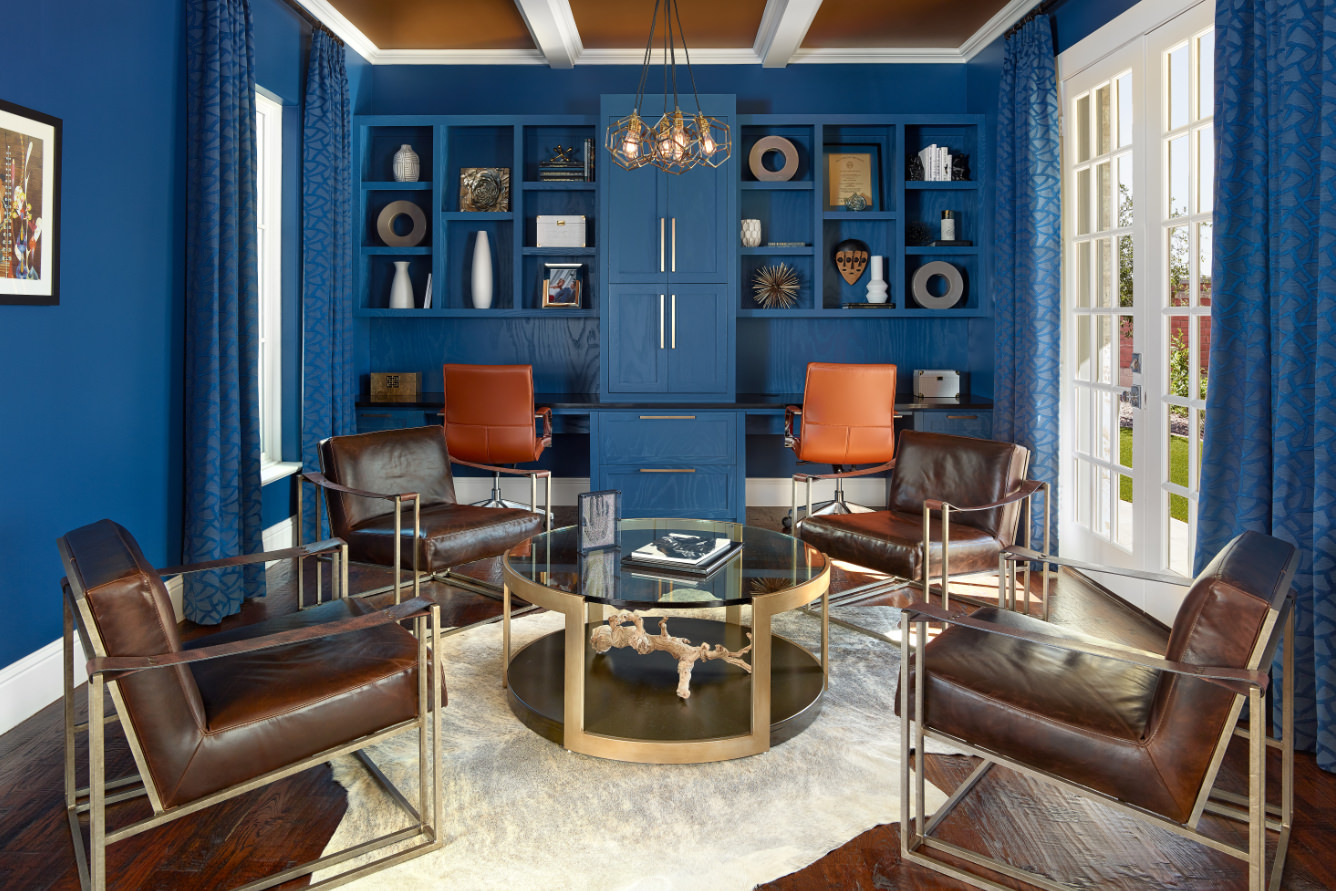
Make your storage work for you. Bringing custom cabinetry into your home will provide the necessary storage to your kitchen, closets, and many more spaces. With these design elements’ versatility, you can convert any space into a functional and soothing retreat. Carve out the space you need and make it work to maximize your home’s square footage for relaxation and entertaining.

At SDG, we aspire to create spaces that improve your overall quality of life. We focus our efforts on protecting and nurturing an environment that fits your lifestyle with a balance of spiritual elements and tangible concepts like architecture, layout, and the mechanics of a space. Our holistic designs create a positive impact that relaxes and provides a serene escape for living. Holistic design is achieved with the blending of multiple disciplines. When you apply the principals from each domain into a design, you will be left with an environment that feels stimulating and rejuvenating.

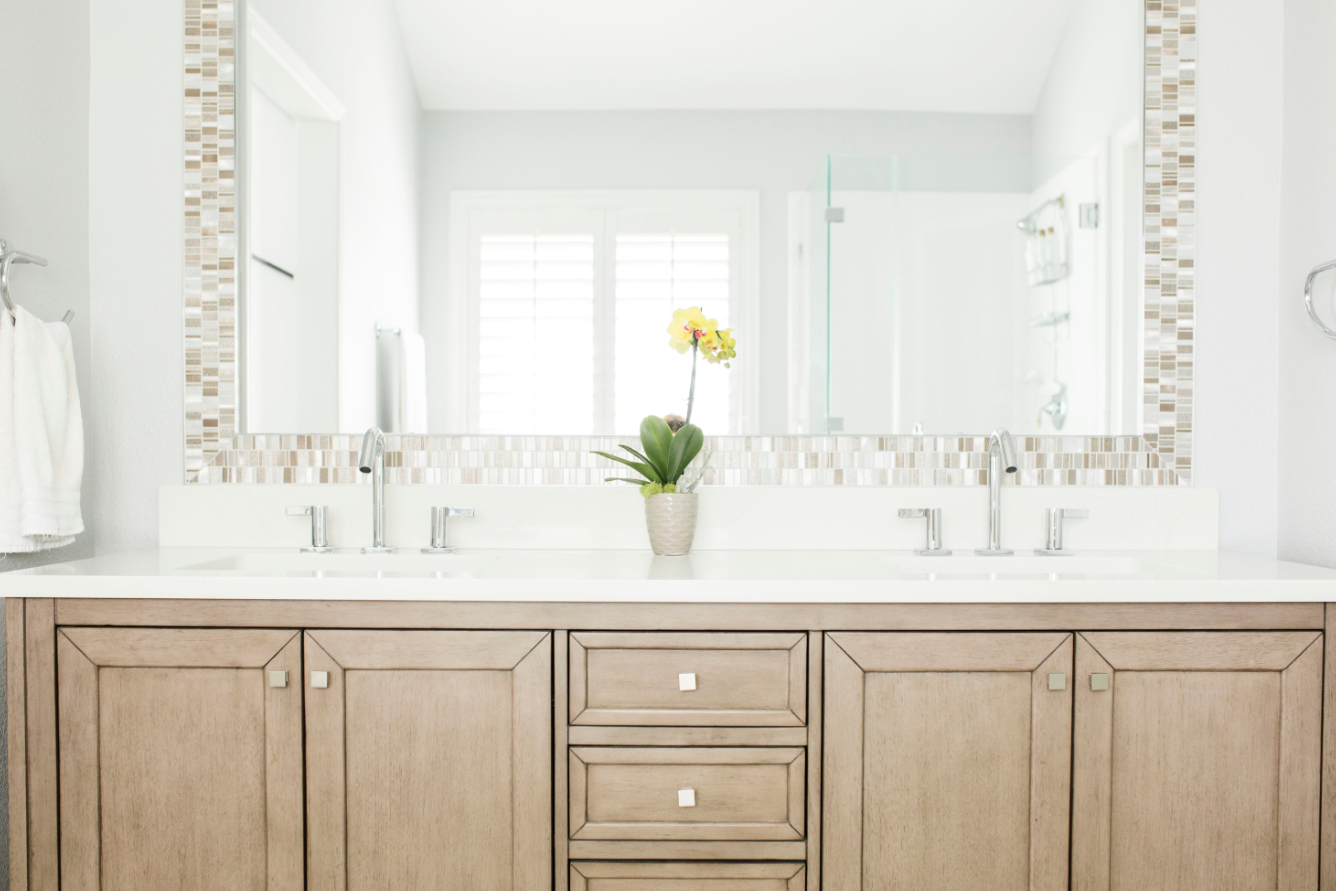
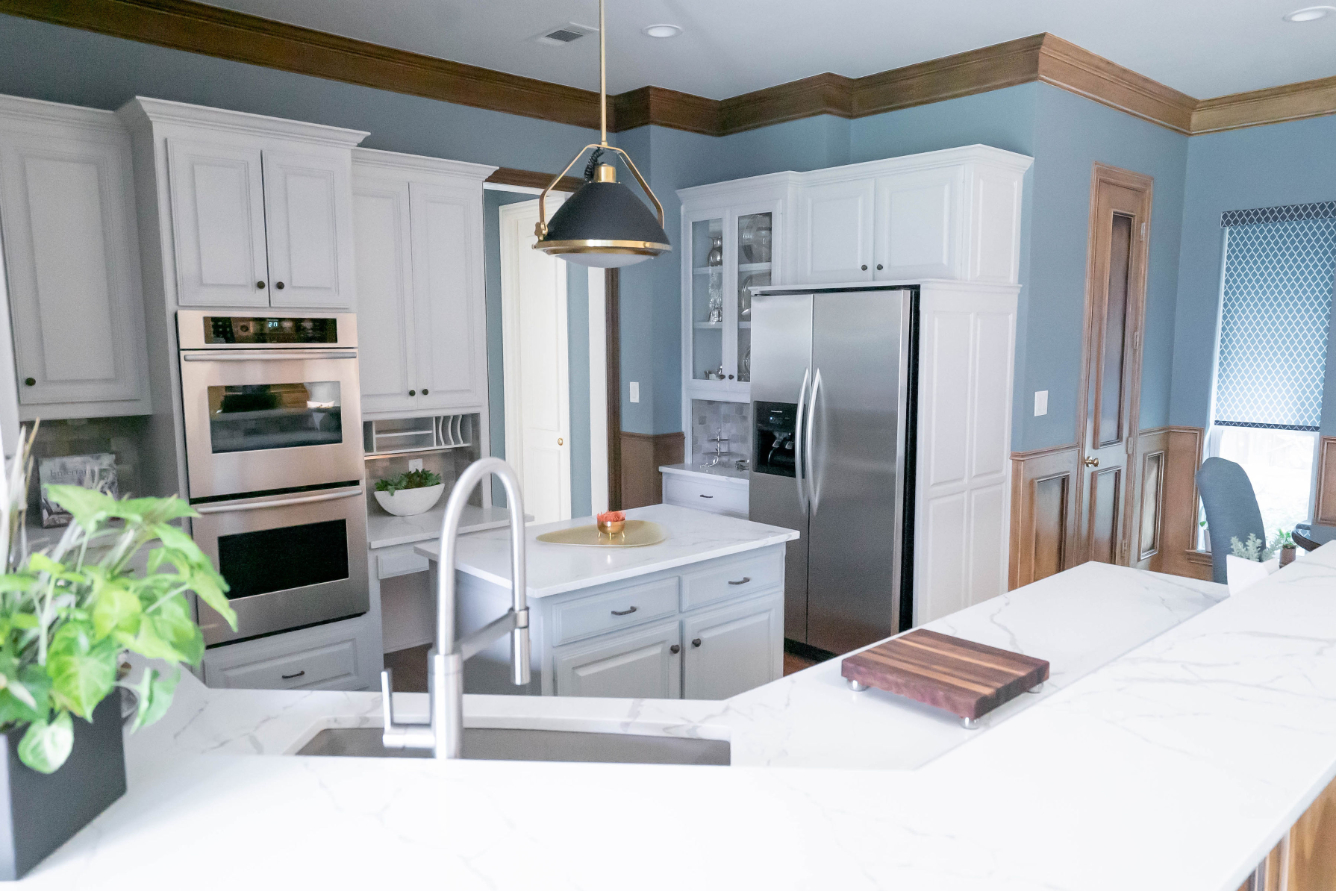
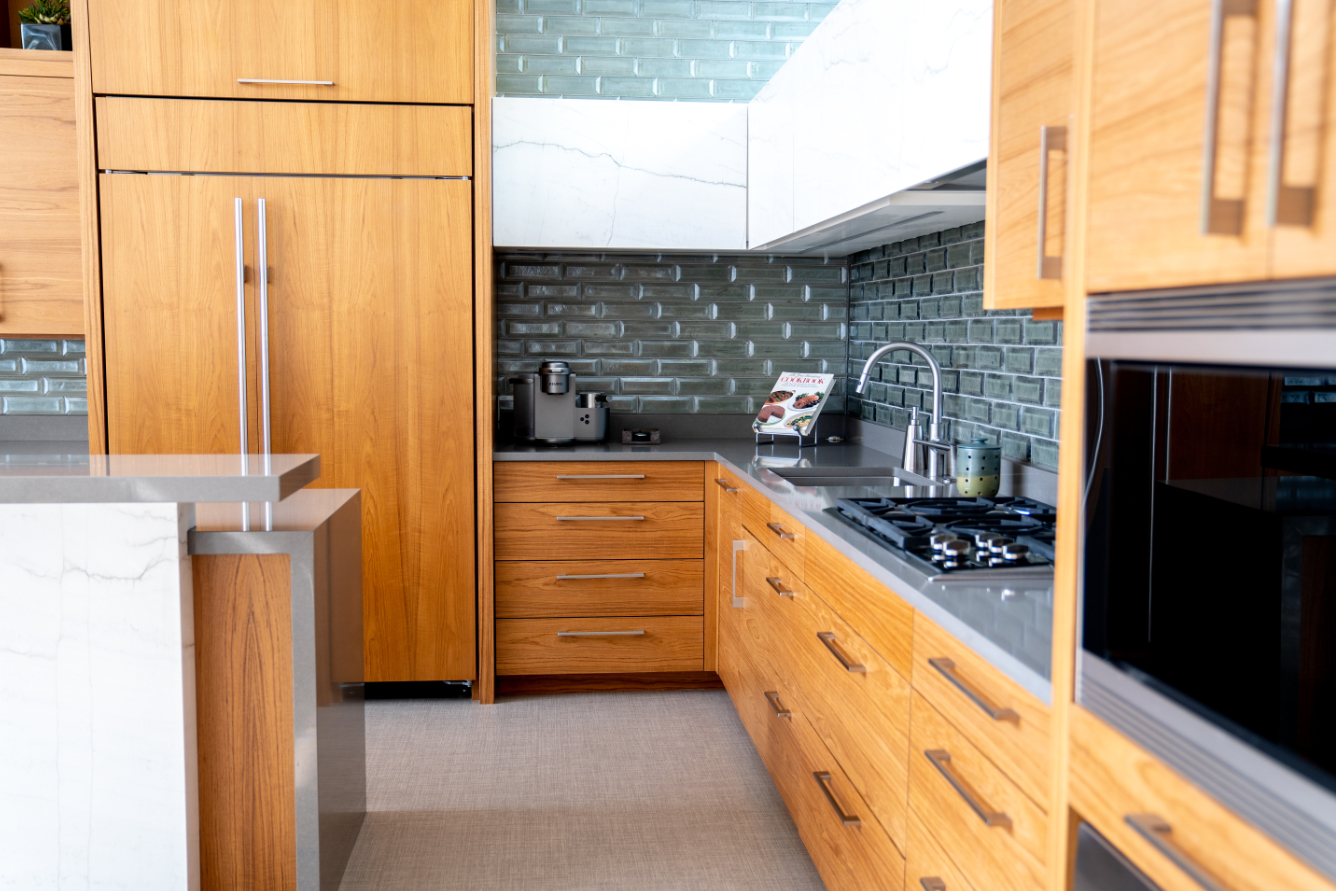
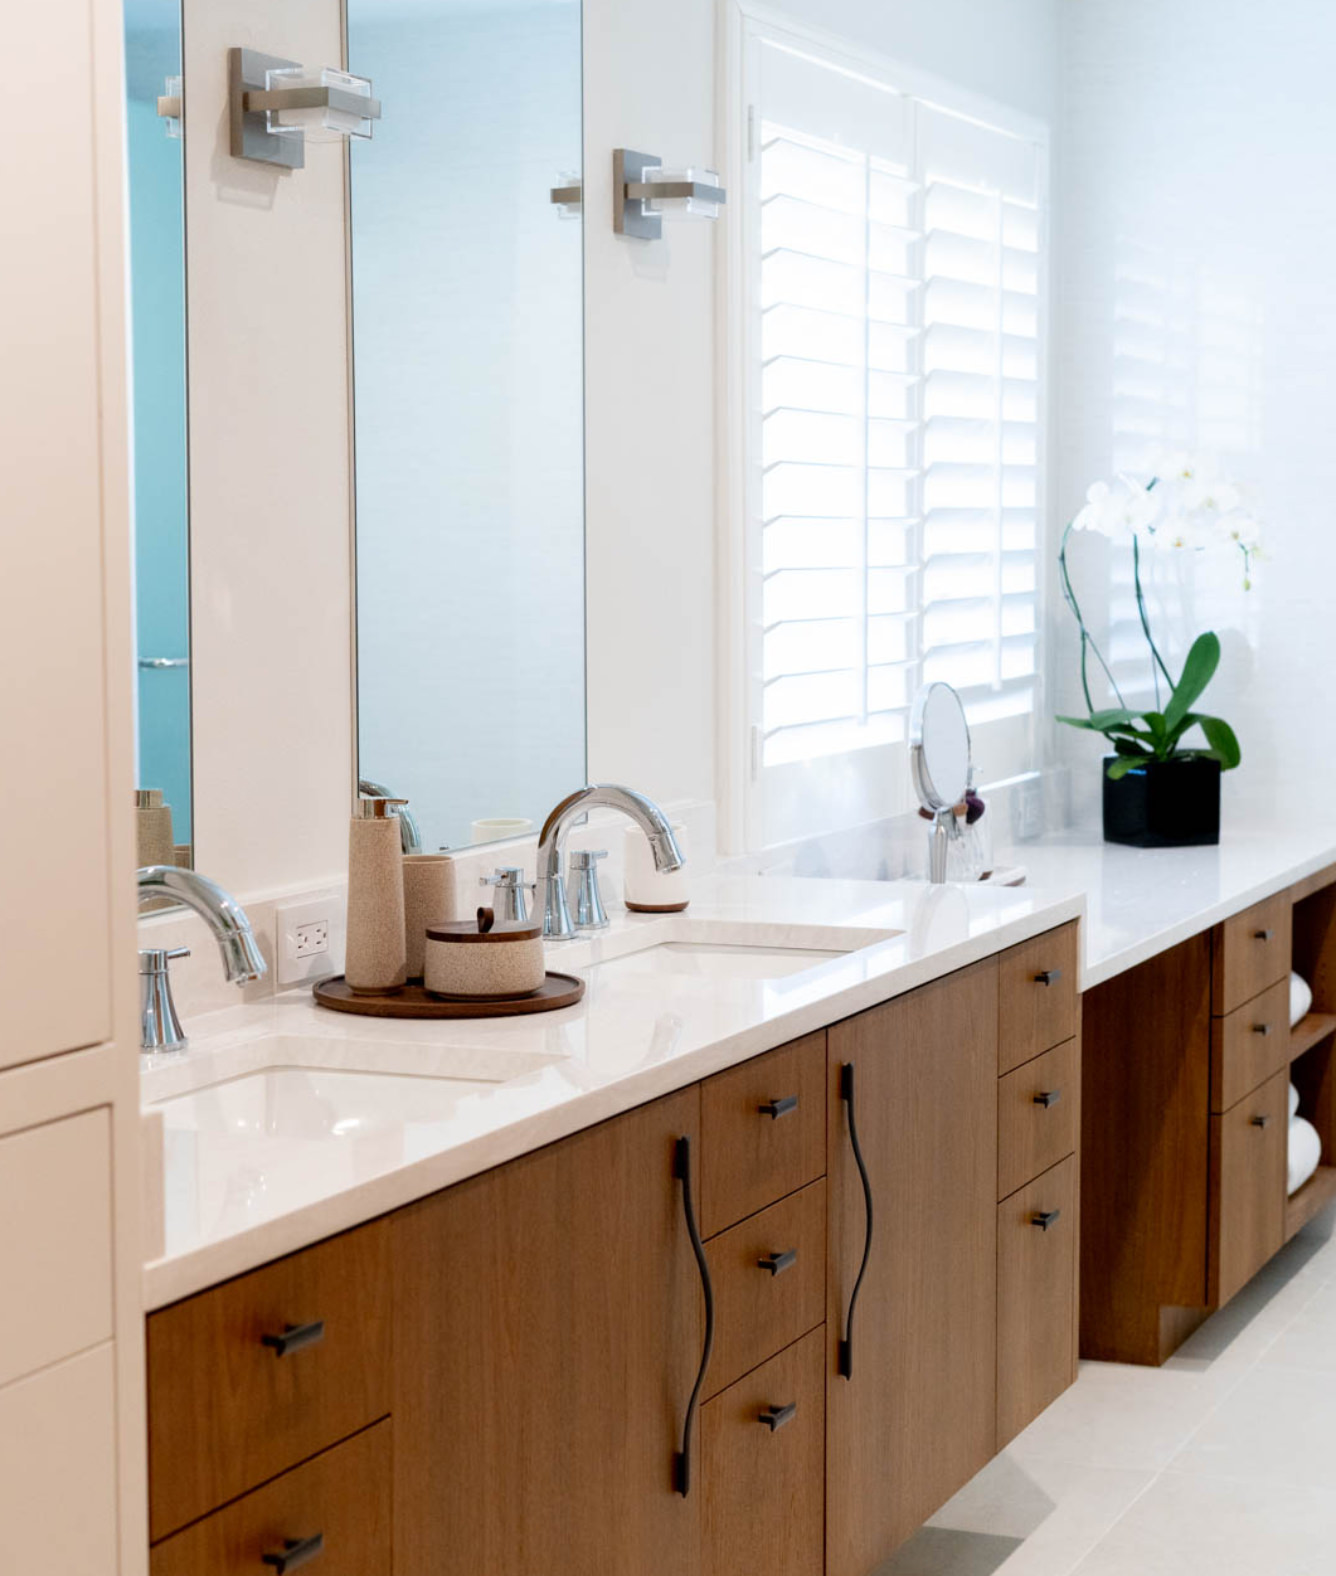
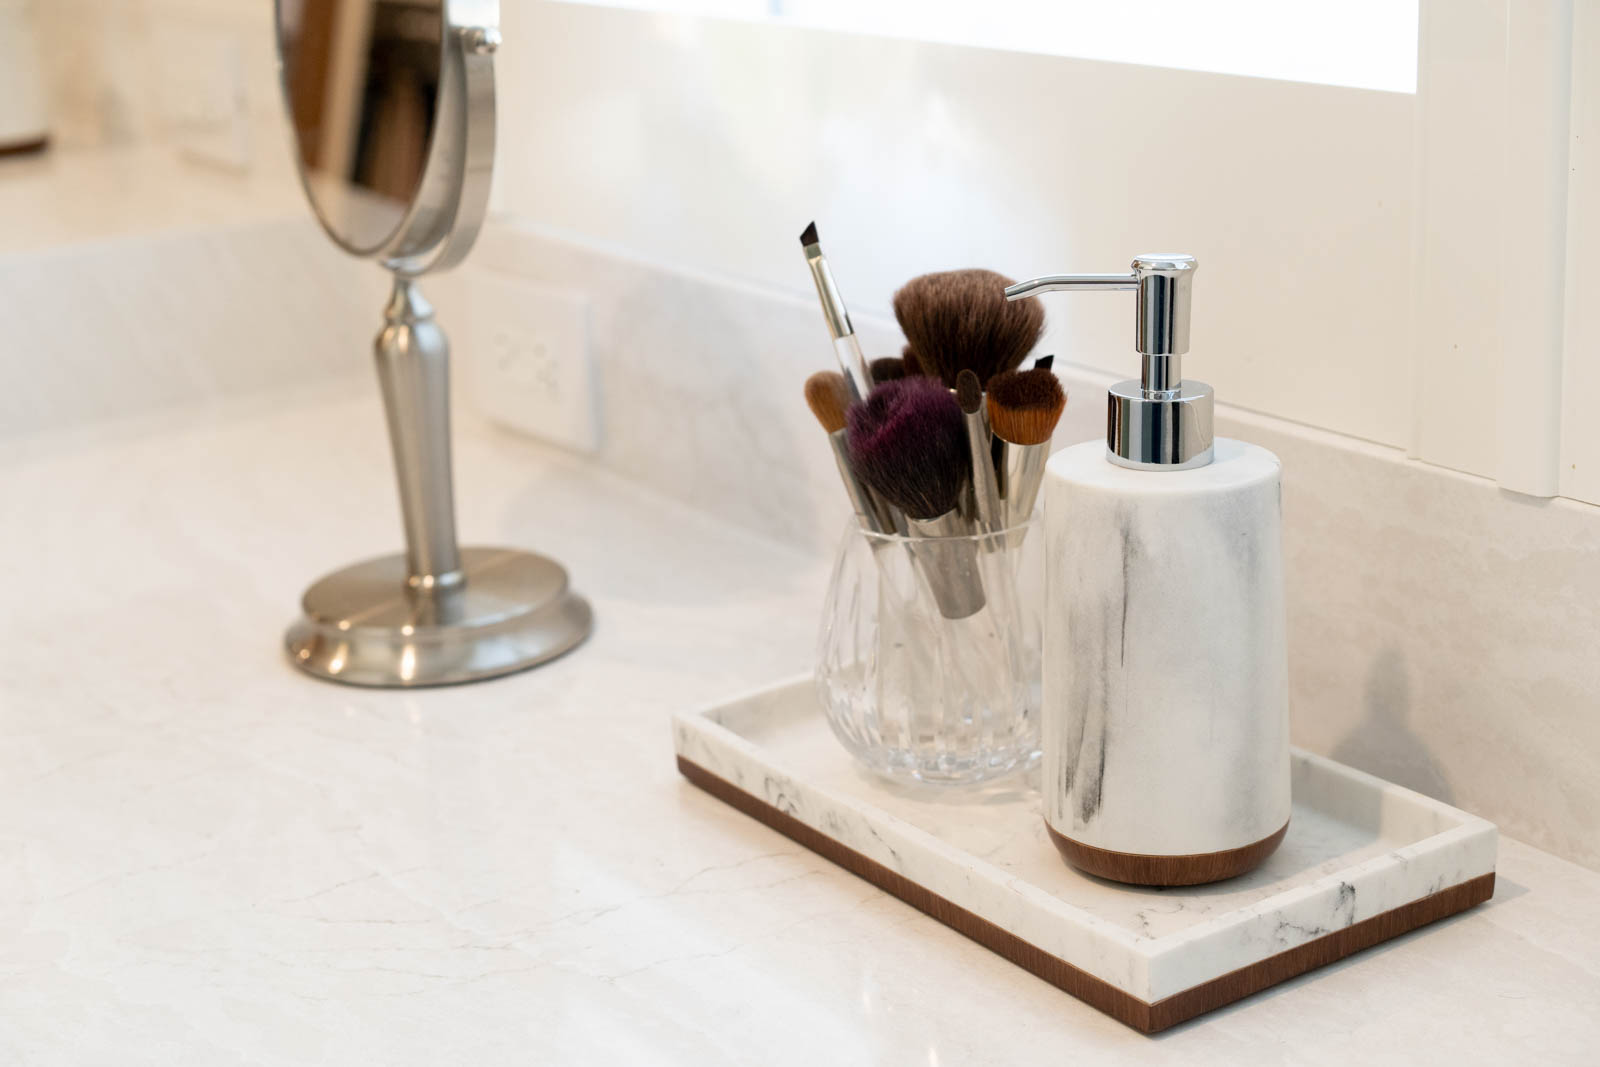
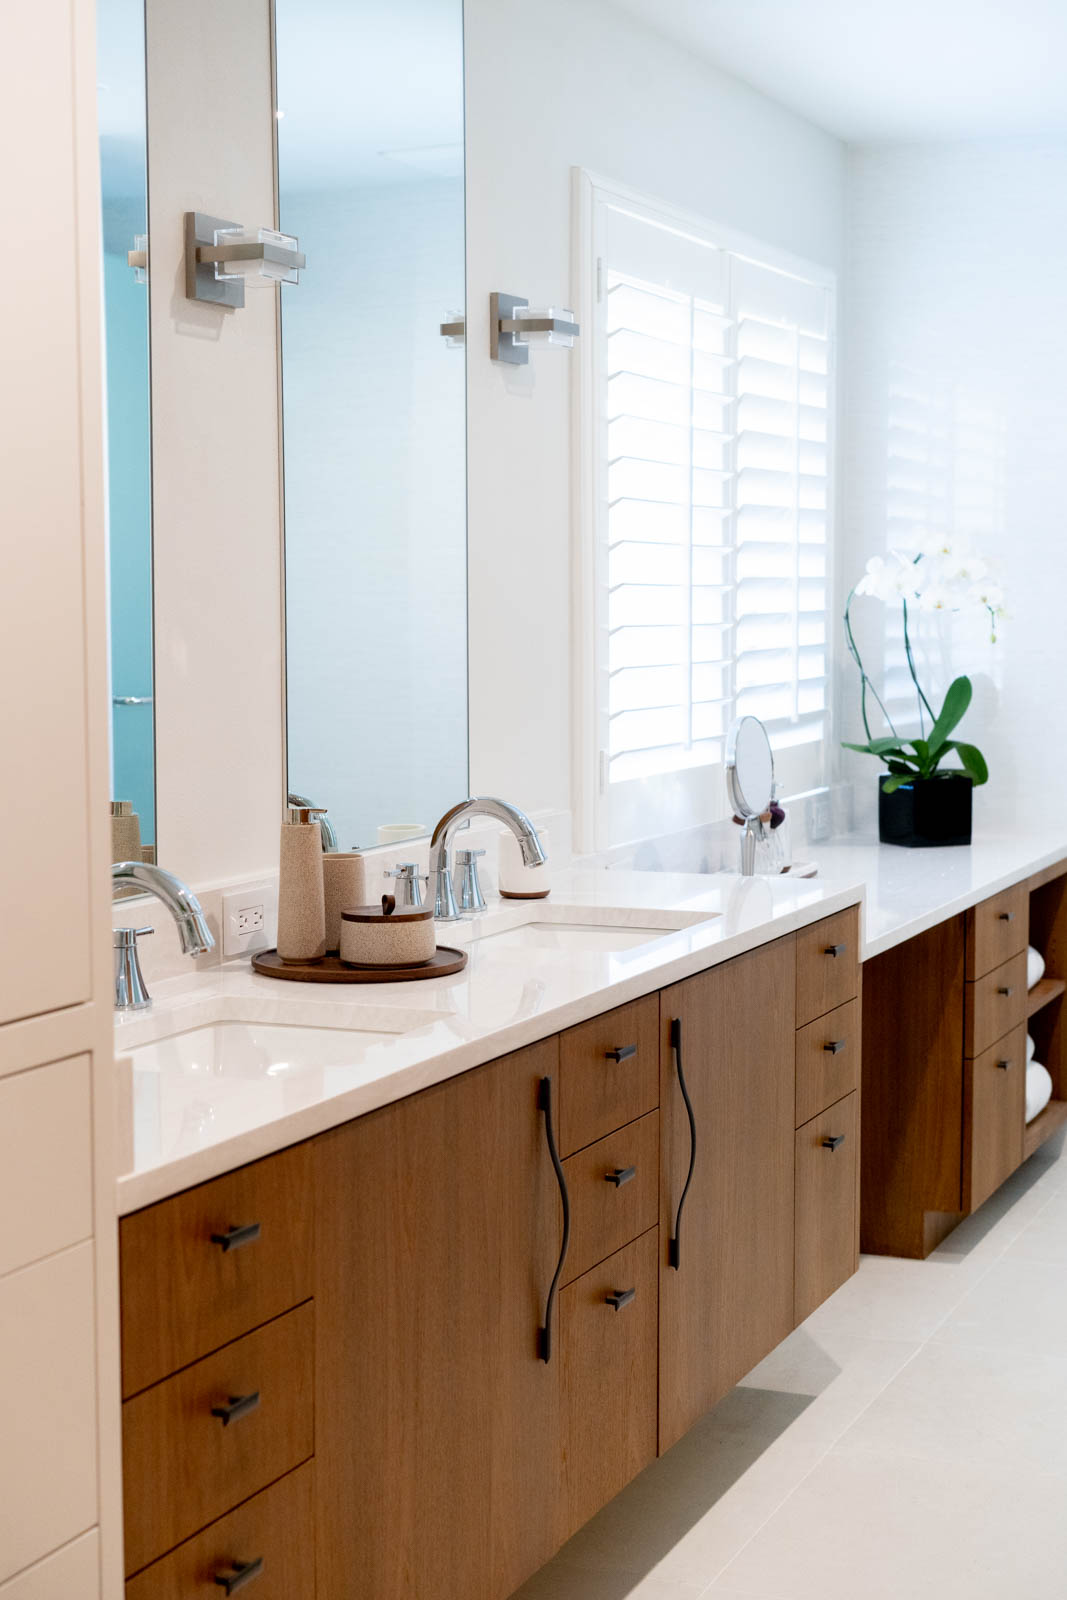
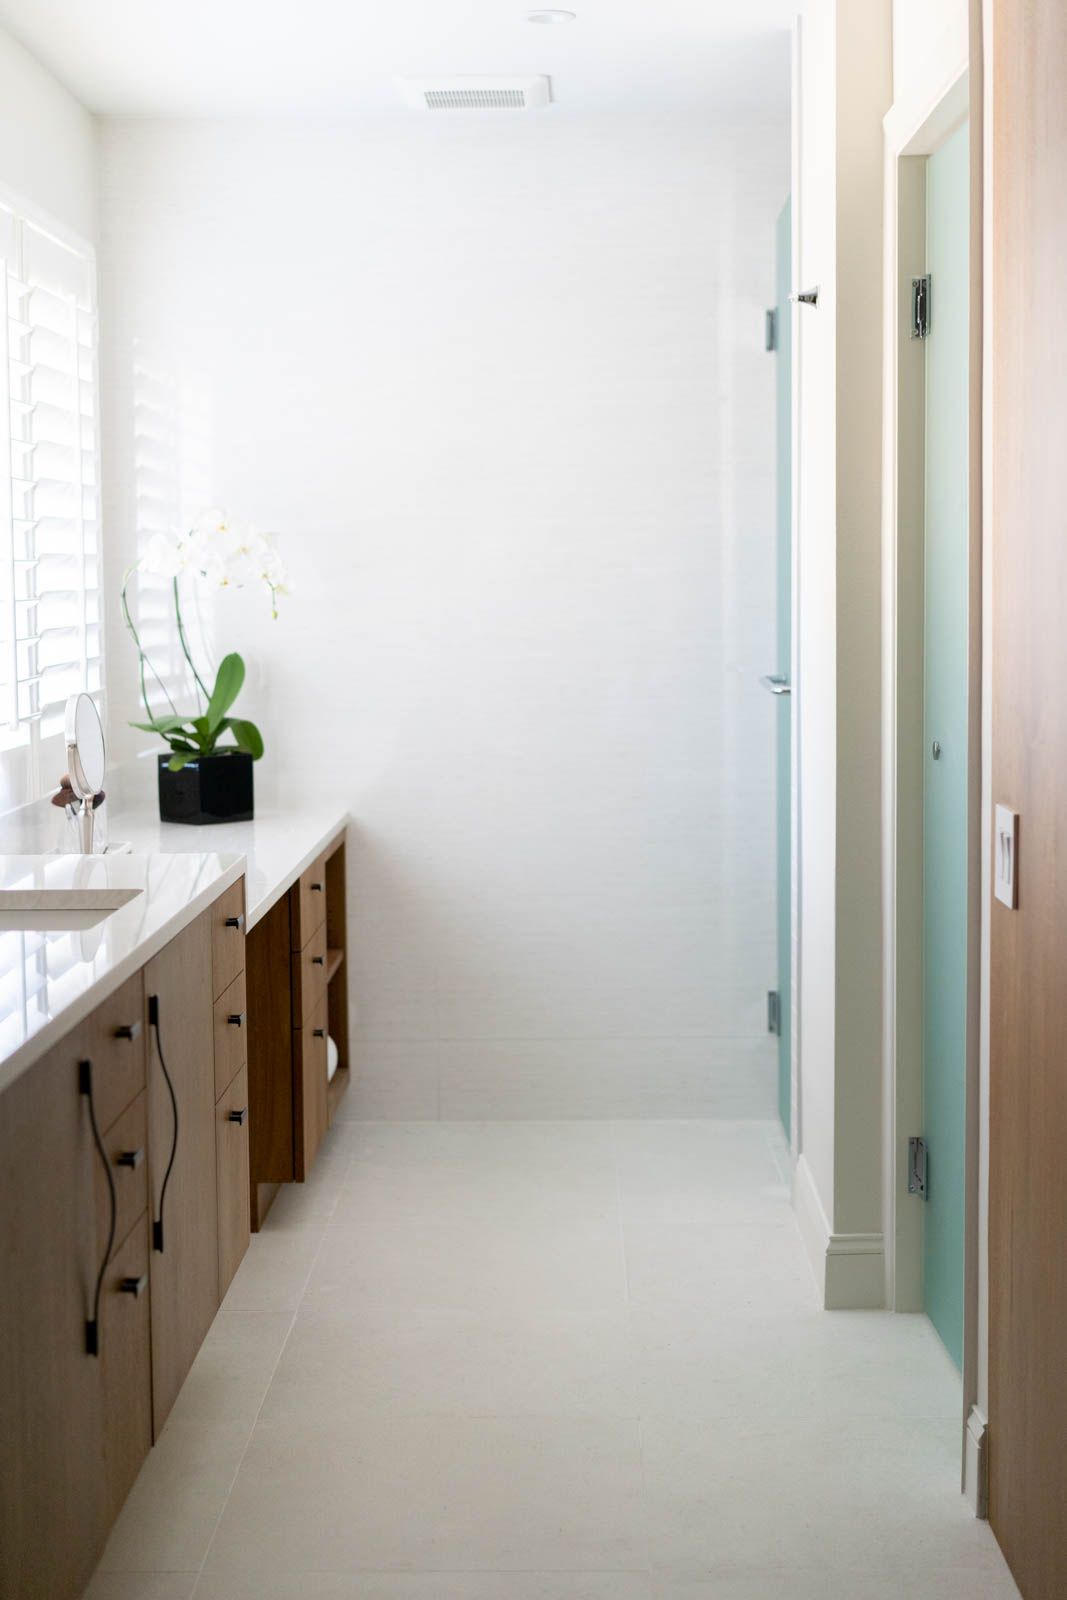
Take a look at one of our home renovations that showcases different custom cabinetry options!

How to Navigate Construction Details for a Kitchen and Bath Remodel

For many homeowners or real estate investors, a remodel is inevitable. A remodel not only brings an updated aesthetic but can also raise the value and functionality of the home. The primary areas that we remodel are our kitchens and bathrooms. They have the most significant bottom-line effect on our largest personal investment, our home. Everyone should have a great kitchen that they can enjoy, prepared and ready for entertaining and cooking, while a bathroom should make us feel like our home is our resort. If you’re thinking of a remodel for either of these spaces, we understand that the construction process can be complicated, so we’re here to guide you through some of those major details!

1. Identify Remodel Project and Budget

A remodel is a significant project that can sometimes be overwhelming. Identifying the areas you want to remodel is the very first step. Each room has requirements you’ll want to consider when planning. The key components to address for your kitchen and bathroom are plumbing and electrical systems. For kitchens specifically, there are additional factors to consider. You’ll want to think about range hoods for ventilation, spacing if you want to incorporate an island, layout design if you’re going to expand the kitchen footprint, and much more. With all this planning, it pays to work with an interior designer who has experience orchestrating these types of projects. They’ll be able to help you create a proper budget framework that encompasses everything to achieve your vision.


2. Hiring the Right Team

When undergoing a rebuild, it’s important to put your trust in the right team to minimize any complications throughout the process. Hiring a licensed interior designer will bring your project to life and provide that added layer of sophistication when it comes to the research, planning, and prompt execution of your rebuild. By partnering with your interior designer, you’ll open yourself up to a whole network of professionals to help you pull off your redesign. Your interior designer will most likely have their preferred general contractors they’ve worked with previously, but if you need to research some on your own, qualifications to look for are their previous work and customer reviews. Examples of large-scale rebuilds will indicate what your final product will look like, while customer reviews will give you insight into the working relationship.


3. Planning for Procurement

It would certainly be nice if renovations could happen overnight, but unfortunately, that’s not the case. When assembling a project, it’s imperative to be aware of the timing of deliveries, which is the driving factor for the entire timeline. Certain materials and supplies may take time to be processed through logistics, especially with many shipping delays from the onset of the pandemic. Having an interior designer in your camp will help the entire project run smoother and keep the stakeholders time cautious and efficient with your time and budget. For kitchen and bath reworks, specific items and materials can include tiling, cabinetry, countertop stones, and vanities, so plan for delays of various items. Setting your expectations in a realistic time frame will help keep you and your deadline in check.


4. Waste Removal

Out with the old, in with the new! While there’s much anticipation for the reveal of the final design, it’s crucial to coordinate waste and debris removal. This should be discussed with the contractor to understand who will be responsible for hauling off the debris. Somehow, waste removal during a renovation can sometimes be overlooked, so it’s also important to consider this when planning and budgeting.


5. Packing It All Up

Once construction planning has been finalized, it’s time to remove any belongings or obstacles that may be in the way during the process and create a plan for a temporary transition. Kitchen and bathroom spaces are the two most essential and utilized spaces in the home, so it’s critical to be able to use another bathroom in the home or switch to a makeshift kitchen or takeout. The construction process can take anywhere from a few weeks to several months, so it’s best to organize and plan ahead.


We hope this comprehensive list helps you navigate the major details and provides guidance for planning your next project. Hiring an registered interior designer will ensure each design element and design solution is made with you in mind. What you allow in your home should be selective and work cohesively to create a holistic design aesthetic that is personalized for you and your family’s lives. Consider us your technical and aesthetic expert to provide useful design information and best practices to create stellar kitchens and bathrooms that help achieve your dream home! If you’re looking for a holistic interior designer to bring your ideas to life, contact us for a consultation!

Recovering From a Tornado

In 2019, my home was hit by a tornado. To say it was terrifying is an understatement. But it’s important that you know how to prepare yourself and your home for this extreme weather event, and what to do afterward to protect your home and your belongings.

Dealing with extreme weather events are never easy, especially when your home is part of the wreckage. I hope these tips, taken from my own experience, will help make your life easier when recovering from a tornado strike.

Before the Tornado

If you live in an area where natural disasters are prevalent, make sure you take some time preparing for the storm in an off season. At the very least, you should know which room in your home is the safest for seeking shelter. Tornados strike without much notice, so it’s important your entire family knows what to do and where to go if a storm hits.

During a tornado, the best place to seek shelter inside your home is an interior room on the ground floor or in the basement that has no windows. If you have time, it’s also helpful to bring these important items into the shelter with you:

  • Wallets and purses
  • Passports and other forms of ID
  • Pets
  • Outerwear such as a coat and shoes
  • Pillows and blankets
  • Flashlight and batteries
  • Bottled water

Immediately After the Tornado

As soon as the tornado passes and it’s safe to leave your home, you should do so. You should take the following valuables with you when you leave, just in case your home is further damaged in the storm or looters come to take advantage of your hardship:

  • Cash and credit cards
  • Medication
  • Medical records and other family records, like birth certificates
  • Jewelry
  • Silver
  • Portable electronics like laptops, tablets and camera equipment
  • Tax files for the current year
  • 3 – 5 days of clothing
  • Essential toiletries like glasses
  • Family photos

The evening the tornado hit our home, we thought our belongings were a total loss. It was impossible to see anything between the dark and the rain. Once the storm passed and we knew we were safe, my son put on gloves and cleared trees and glass from our garage and driveway. We put the items listed above in our car and drove to a friend’s home to stay the night.

Though my son and I were quick to take action, gathering our valuables and securing safe passage to another location, that won’t always be the case. My husband wanted to stay and protect our home. Developing a plan before the storm hits, including a list of valuables you want to take with you, will help your whole family stay focused on getting to safety once the danger has passed.

The Day After a Tornado

When it’s safe for you to return to your home, you’ll need some volunteers to come with you and help sort through the debris. Documentation of the damage is very important in order to take advantage of your homeowners insurance as much as possible.

Have friends or family members help you make lists of what wasn’t damaged, what can be salvaged and what must be thrown out. Don’t wait for your insurance company to sort through these items for you — they will likely be inundated with claims from other customers in your area, and the longer you wait to get a claim filed, the longer it will take to get repairs, secure storage and find a temporary home.

As you’re cleaning up, many service providers may come asking if you need assistance and trying to sell you their services. While most are good people trying to help, it’s important to stay vigilant and complete due diligence before hiring anyone.

How an Interior Designer Can Help After a Tornado

Most people wouldn’t think of calling their interior designer after a tornado hits, but I highly recommend this be one of the first things you do. I was able to offer many of my clients so much relief by:

  • Providing records of the value of damaged items
  • Getting quotes for repairs, which are often required for insurance purposes
  • Connecting them with a quality, trusted contractor to complete the repair work
  • Sourcing replacement items and materials for those that were damaged
  • Coordinating handling and storage of furniture and art

The rebuilding of your home can take months and can be a costly and emotional experience. Don’t wait until you’re too far in the process. Contacting a design professional early on can make rebuilding after a tornado less stressful.

3 Phases of A Master Bathroom Renovation

Remodeling a master bathroom is a big home improvement project that can take months, depending on the updates. Each renovation that I complete with my clients is unique, however, I like to provide them with an estimated timeline when we first begin working together.

A major master bathroom remodel can take anywhere from 12-14 weeks, depending on the project size, and involves three phases: planning, construction and finishing. If you hire an interior design firm like Schlosser Design Group, you won’t have to worry about managing any of the details during this hectic process. Completing a renovation project yourself could take much longer if you’re unfamiliar with architecture, design and construction.

Planning Phase

  • Initial Client Meeting and Project Documentation — this part of the planning phase includes an initial meeting with the client to learn about their preferences and documenting the existing space by taking photographs for reference and measuring the layout and other critical elements such as light switches, etc. We allocate 4 hours total in 2 separate visits to your home.
  • Designing — Next we go to work drawing your existing floor plan in our CAD, computer aided design program. Then we analyze your space and develop design solutions based on the information we have gathered and create architectural drawings for your approval. Depending on the size of the project it can be as short as 2 weeks for drafting.
  • Sourcing — While we are designing you a new space, we also develop the finish direction by sourcing samples for the required materials like flooring, tile, countertops, plumbing fixtures, lighting and accents. We will share our ideas with you through a 3D rendering and actual finish materials. Once the solution has been approved, we will show you the furnishings and window treatments that will be needed. Knowing which materials you select for your finishes sets the direction of textiles we recommend to complete the space. Since sourcing is part of designing this can take 2 weeks. Depending on how much furniture is required, sourcing could take up to 6 weeks. A lot of work goes into sourcing product including pricing quotes.
  • Homeowner Prep — You’ll pack away all of your belongings so construction can begin.

Construction Phase

The construction phase is the longest part of the process and typically takes 8-10 weeks but can extend even longer if a problem is uncovered during demolition. Construction consists of:

  • Demolition — Before picking up the sledgehammer, your contractor should prepare your home for the upcoming mess. Installing extra air filters on the HVAC and zipper doors around the room should keep the rest of your home tidy. Next, the team can strip back the room to the studs. Demo typically takes three or four days to complete.
  • Plumbing and Electricity — Plumbers and electricians move or add pipework and wiring.
  • Walls — Walls are erected. This process spans framing, insulation, putting up drywall and skim coating.
  • Tile — Tiling for walk-in showers, tub surrounds and sink backsplashes happens next.
  • Flooring — Flooring is laid.
  • Cabinetry — Bathroom cabinets and countertops are installed.
  • Paint — The room is painted.
Tiling is part of any construction phase

Tiling is a key part of any construction phase, but especially in this master ensuite. I designed this walk-in shower to be a luxurious and spacious retreat for my clients.

Finishing Phase

The finishing phase is commonly called Trim Out and typically takes one to two weeks and consists of:

  • Plumbing Fixtures — Plumbing fixtures like toilets, sinks, showerheads and tubs are installed.
  • Accents and Finishes — With the bulk of the work done, the construction team will start to put the finishing touches on the bathroom. This includes adding hardware to drawers and cabinets, installing custom closets, hanging mirrors and putting up light fixtures. Installing specialty finishes such as wallcoverings are part of the finishing phase.
  • Cleaning and Staging — The general contractor will bring in a make-ready person who will clean the space before handing it over to the interior design team. The design team will add all the final touches like rugs and art before the final reveal.
Arranging accents and making sure everything looks perfect

During the finishing phase I get my hands dirty in the client’s space, arranging accents and making sure everything looks perfect.

See an SDG Renovation Behind The Scenes

In the third video of my SDG Renovation series, I take you on-site at my client’s master bathroom remodel. You’ll see what their home looks like while workers are updating the space, how the home is kept clean, and how designs can change once demolition is complete. If you want the full context of the project, be sure to go back and watch Episode One first.

Quartz Countertop Vocabulary

If you’re not an experienced interior designer, talking about bathroom or kitchen countertops can be like speaking a foreign language. Veining, movement, porosity… what does it all mean? This is my cheat-sheet to understanding the professional lingo when choosing a stone countertop.

Edge Profile – The shape of the edge of the countertop. There are many different edge styles to choose from, like flat, bullnose, beveled, and quarter-round.

Engineered Stone – Countertops that are man-made from combining quartz with binders. These countertops look like natural stone but allow the manufacturers to have more control over what the finished product looks like. Engineered stone is more consistent than natural stone because it is manufactured instead of mined.

Fading – When a stone loses color after being exposed to sunlight.

Movement – A unique pattern that flows through a slab. Movement is the opposite of uniformity or consistency.

Non-Porous – A surface that does not have holes in it, so it does not absorb air and moisture. Non-porous surfaces are ideal for countertops because they do not need to be sealed. Most engineered stones are non-porous.

Porous – A surface that has microscopic holes in it, allowing it to absorb air and moisture. Most natural stones are porous and if it is being used for a countertop, it must be sealed.

Sealing – The process of putting a clear coat on top of the stone to protect it from stains. Sealing is especially useful for porous stones.

Slab – A large, flat piece of stone. Stone countertops are made from slabs of either natural or engineered stone.

Veining – Long, thin strips of contrasting color in a countertop slab. Depending on how a slab is cut — either with the vein or across it — the veining can appear swirled and cloudy, or distinct and linear.

Faint veining - engineered stone

This faint veining in this engineered stone picks up on the softwood tones from the custom cabinets. Design by Schlosser Design group.

Watch Behind The Scenes

In the second video of my four-part series SDG Renovation, I take you behind the scenes as I select an engineered quartz countertop for my clients. To learn more about the project I’m selecting countertops for, go back and watch Episode One.

Beautiful engineered stone

In my video, you’ll see how I selected this beautiful engineered stone for my client’s master bathroom. Design by Schlosser Design Group.

5 Signs Your Master Bathroom Needs a Renovation

A master bedroom suite should be tranquil and relaxing, but an outdated and poorly functioning master bathroom can make it feel exactly the opposite. Bathroom renovations are the answer — when renovating, you can wipe the slate clean on your bathroom and start fresh with a space that is beautiful, functional and safe.

These Five Issues Should be Red Flags and Help You Know if it’s Time to Renovate Your Master Retreat.


Electrical Hazards

Water and electricity are a dangerous combination. If your bathroom has electrical outlets, switches or lights too close to bathtubs, showers or sinks, you could be at risk of electrocution.

Lack of Privacy

Privacy is important in any bathroom, but especially in a master suite when the space serves multiple functions and two people may be using it at the same time. The ideal master bathroom should have a separate water closet, or W.C., for the toilet.

Poor Storage

Cabinet space, linen closets and vanities, among other types of storage, are important for master bathrooms to fully serve the homeowner. Depending on when your home was built, it may not make the best use of space to maximize storage for towels, makeup, hair products and other bathroom supplies.

Storage Closet by Schlosser Design Group

Storage is a critical part of any master bedroom suite. If your closet doesn’t have ample room to keep your clothes and shoes organized, it might be time for an update. Design by Schlosser Design Group.

Incomplete Design

All spaces in the home should be well-planned so they are both functional and beautiful. Sometimes one of these features is missing, however, causing a design to be incomplete. For example, I recently redesigned a master bathroom that was using a shower curtain with a walk-in shower stall because it did not have a door.

Shower redesign by Schlosser Design Group

Before our renovation, my client’s master shower was incomplete because it used a shower curtain in a standing shower stall. Schlosser Design Group redesigned the space to increase the size of the shower and add a glass door.

Poor Ventilation

Ventilation is a key part of proper bathroom construction because it prevents a buildup of moisture and humidity in the space. If left unvented, mold or mildew can grow in your bathroom. While some older homes don’t have ventilation at all, others vent improperly into the attic rather than directly outside through an exterior wall or the roof. It’s crucial that bathroom steam does not get released into the attic because it can cause the roof framing to rot.

Watch SDG Behind The Scenes

Recently, one of my clients tasked me with renovating their master bathroom, which you can see in my new video series SDG Renovation. In Episode One, I walk you through their existing bathroom and all of the functional and safety problems that existed.

What can a registered interior designer do for you?

That’s a great question. Clients I work with often wonder what a registered interior designer (RID) does that’s different from other designers. It’s complicated so let me simplify and offer some insight so when you decide you need an interior designer for your project, you will be well informed and make a good choice based on your needs.

Anyone can call themselves an interior designer. There are of course certified kitchen and bath designers, interior decorators and stagers who provide interior design services, but to become a registered interior designer requires a formal interior design degree from an accredited institution, a 2 year apprenticeship, and passing the professional examination (similar to the architectural exam) — the National Certification of Interior Design Qualifications (NCIDQ). This is a long process, allowing RIDs to stamp construction drawings for permitting. This is one of the major differences between registered interior designers and other interior designers and decorators. Of course there are other paths that designers can follow but the RID path is the most involved, most technical and requires the most education. A very small percentage of interior designers are actually registered with the state of Texas.

Why is this an important distinction? RIDs can develop construction documents, meet regulations and building codes requirements, and apply sustainable design principles, as well as the manage and coordinate other professional services including mechanical, electrical, plumbing, – all to ensure that people can work, live, and learn in an aesthetically pleasing, and safe environment.

RIDs have mastered the ability to understand people’s behavior in order to create functional and beautiful spaces down to last adorning detail including, furniture, window treatments and art and accessories. RIDs work with architects on new construction, design remodels, relocate plumbing, and electrical, and design kitchen and baths. Just like doctors, lawyers and architects, registered interior designers must complete 12 hours of continuing education every year so they are current on both technical (codes, universal & sustainable design) and design trends.

RIDs can help save you time and money with their extensive knowledge and an array of resources – they are not typically tied to any one product or manufacturer. RIDs are client focused not product focused.

Creating a mindful and appropriate solution for a space for any use takes knowledge and an understanding of human nature that goes beyond the selection of color palettes and furnishings. If you want a collaboration that allows the best possible options for you, hire a registered interior designer for your next design project and you’ll be glad you did.

Cristie Schlosser, principal and owner of Schlosser Design Group, LLC has been practicing interior design for 18 years. She is a professional member of ASID and the 2015-2016 ASID Texas Chapter Dallas Design Community Chair. Cristie has won numerous awards and is a member of NARI, NKBA and USGBC.

Blurred Lines

Written by Cristie Schlosser

As I draw close to the completion of my own project, it has never been clearer to me how the industry and disciplines fit together. The past two years, I’ve been both the client and the Interior Designer. Of course, my husband Rodney is the real client, but I’ve chosen to play that role as well. My goal, when Rodney suggested we “build,” was to put together a “team” that could collaborate to design the home we plan to live in for the next phase of our lives together. Not only would this “team” collaborate, but also to have others to bounce my thoughts and ideas off of and get professional feedback was critical. I’ve enjoyed the process. I’m anxious for the completion and the results. I believe my shortcomings have challenged me to change the way I work, to improve my process, and to rise to a new level of expertise. I have come a long way, but have much further to go. I am a perfectionist to some degree – always thinking I can do better.

The blurred lines became apparent to me in multiple ways. Not only am I am the client and the interior designer, but I usually work on behalf of the homeowner to manage the contractor. I am also the project manager placing orders and following up on deliveries – in new construction this in normally done by the contractor. I am used to working with my own trades, many of which in this case our contractor uses. Funny thing is I had no prior experience with the architects or the contractor. In some ways, the blurred lines worked to our advantage. In other ways, it has been more difficult for the architects, the contractor, and me; but most importantly, I really enjoyed designing with this team. Putting all typical home building frustrations aside, I know we will be pleased with the outcome.

For as long as the industry has existed, there have been blurred lines between registered Architects (RA) and registered Interior Designers (RID). Both are creative and have vision. Both create design drawings and stamp drawings for construction purposes. RAs and RIDs can create lighting, plumbing, and electrical plans.

They can space plan and layout the flow and interior non-load barring walls of a structure. Both can specify finish materials, cabinet details, and interior millwork. Both can complete a built space with furniture and decoration.

So what’s the difference? Each discipline specializes in their specific area of expertise, which requires rigorous education, apprentice work, and intensive board testing. An architect’s area of expertise is the building systems and how the structure is melded into the environment. An interior designer’s area of expertise is a psychological examination of human nature and needs as they are affected by the built environment.

So where do contractors and designers (non-registered) fit into the picture? Contractors execute the design vision as it pertains to construction, and designers adorn and beautify spaces that require no building modifications. There is no education requirement, licensing, or maintenance of continuing education. There is no ruling body mandating regulations. There are great contractors who are very responsible and run impressive operations. Generally, these contractors are members of organizations that require CEUs and have certified programs. NARI is an example of such an organization. Some contractors are as naturally talented as some RAs and RIDs. Decorators who call themselves interior designers don’t quite understand the meaning of the term. They aren’t trying to mislead; they simply don’t realize what the big deal is. There are plenty of non-qualified talented designers whose experience counts. However, there are plenty that don’t know what the codes are, or how to resolve construction complications. Their role is to make selections that beautify the interiors. That’s just plain decorating.

So you get the idea now; there are plenty of people vying for your business. How do you know whom to choose? It certainly depends on your project, but the best results come from a collaborative effort. Respect between the disciplines and working together to create your dream home or office. Starting with your design team will lead you down the right path and through the process that flushes out the options and creates a unique space for you.